Yoga, comprising of physical, mental and spiritual practices, originated in ancient India. Yoga was widely practiced by followers of Hinduism, Buddhism, and Jainism. In Western culture, “Hatha” yoga along with asana or yoga poses is practiced worldwide. Here, are twelve basic yoga poses that any yoga beginner can do for an even start:
{ 1 } Tadasana (Mountain Pose)
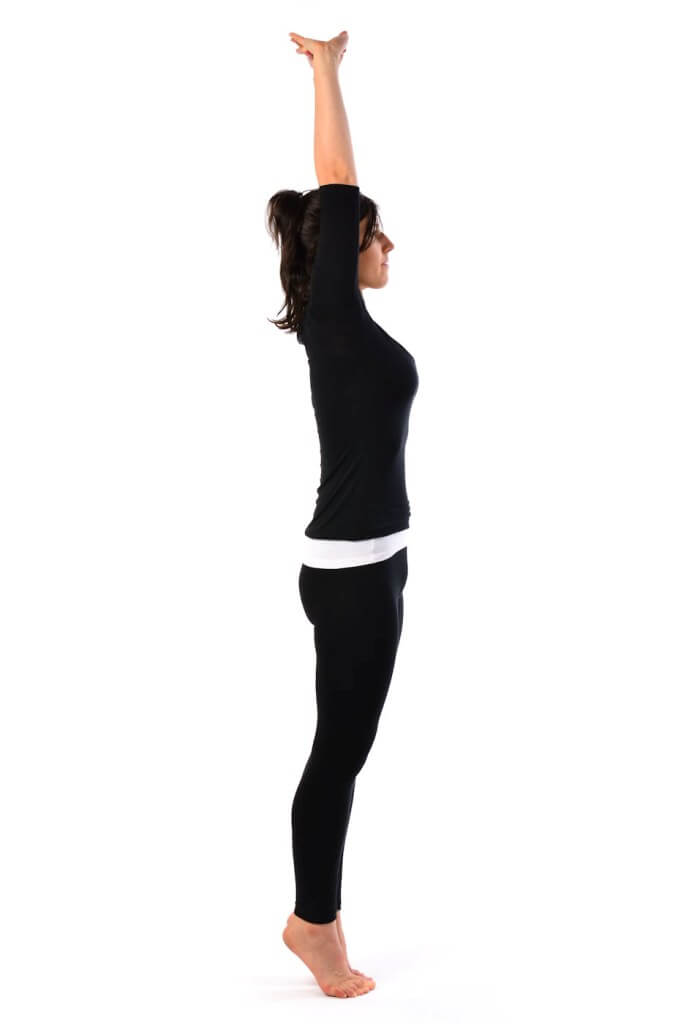
Practise:
- Stand straight with feet together and hands on either side.
- Tighten thigh muscles, kneecaps, arches of inner ankles. Lift ankles from the ground.
- Move upper thighs inwards. Elongate tailbone and lift pubis closer to the navel.
- Looking upwards breathe in. Stretch shoulders, arms, and chest upwards.
- Raise heels balancing body weight on toes.
- Hold Mountain posture for a few seconds.
- Exhale and release.
Benefits:
- Improves body posture and balance.
- Strengthens knees, thighs, and ankles.
- Tones buttocks and abdomen.
{ 2 } Vrikshasana (Tree Pose)
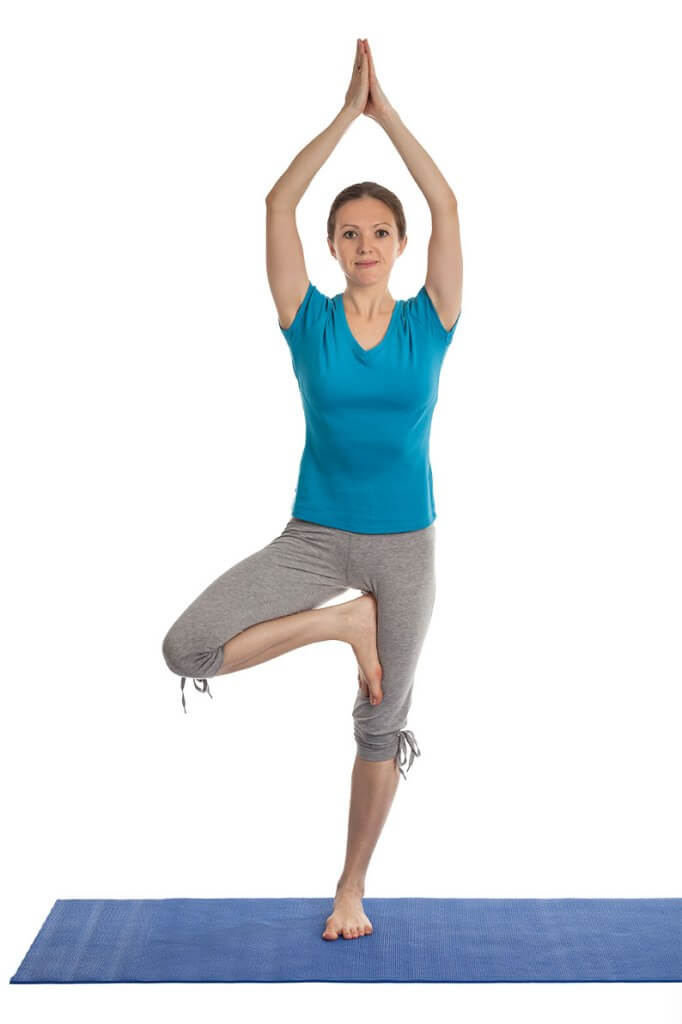
Practise:
- Early morning/4-6 hours after eating.
- Stand upright with arms hanging on either side.
- Bend right knee and place it on top of the left thigh that remains straight.
- Breathe in. Raise arms overhead and make Namaste mudra.
- Focus on a distant object for balancing.
- Inhale and exhale for few counts.
- Return to original posture.
- Repeat for the left leg.
Benefits:
- Strengthens ligaments and tendons of feet.
- Tones upright legs and buttocks.
- Practicing offers self-confidence.
{ 3 } Trikonasana (Triangle Pose)
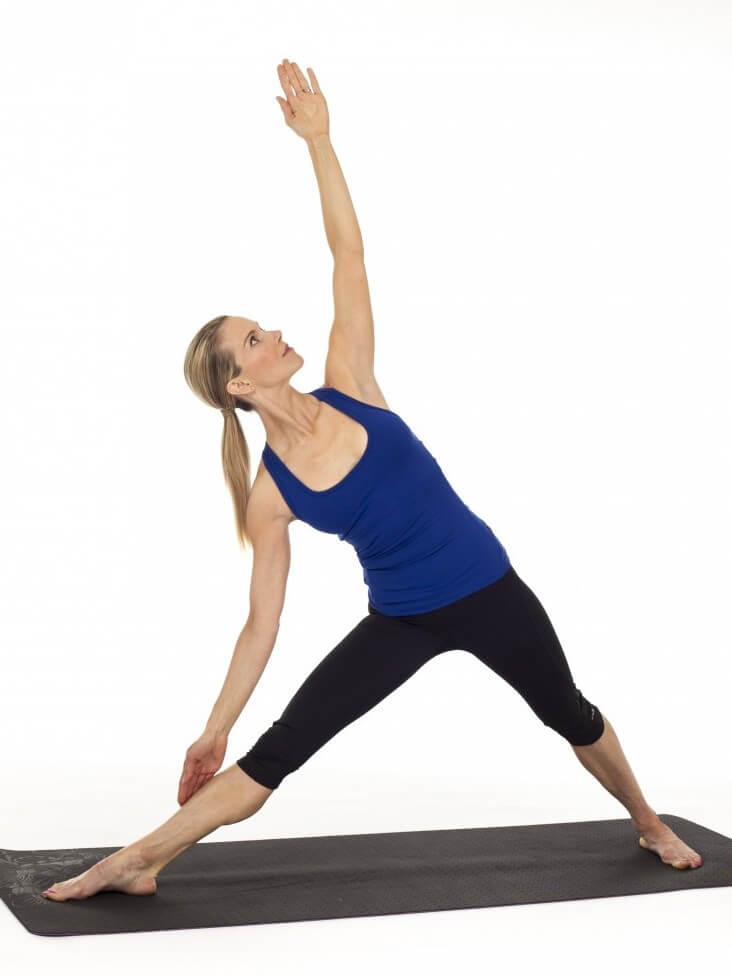
Practise:
- Stand with feet parted (3.5-4 feet).
- Turn right foot outward (90°) and left foot inward (15°).
- Ensure the right heel at the center of the left foot.
- Balance body-weight on both feet.
- Deeply inhale.
- Exhale and bend body to the right from hips keeping waist straight.
- Place right palm on shin/ankle/floor next to right foot.
- Stretch left palm towards the ceiling in the line above shoulders.
- Focus on left palm.
- Inhale and exhale for few counts.
- Inhale and return to original pose.
- Repeat for another side.
Benefits:
- Strengthens legs, arms, and chest.
- Reduces anxiety and back pain.
{ 4 } Phalakasana (Plank Pose)
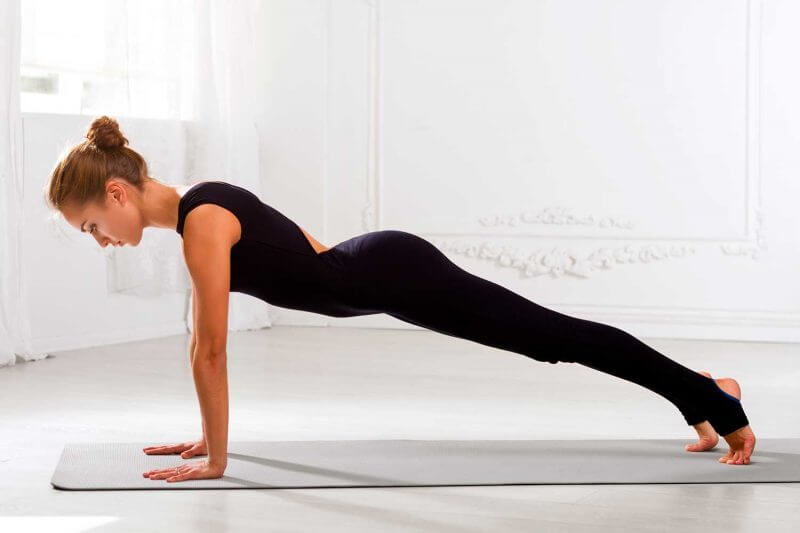
Practise:
- Start from all four limbs (hands and knees).
- On the floor, press hands with fingers spread out and middle finger points forward.
- Tighten upper arms towards each other.
- Lift shoulders over wrists.
- Draw in the lower abdomen and up.
- Extend one leg back with toes tucked followed by the other leg.
- The body should be in a straight line from head to heels (Plank Pose).
- Inhale and exhale
Benefits:
- Improves concentration, and memory.
- Strengthens leg muscles, hamstrings, calves, shoulder muscles, upper arms, forearms, and wrists.
- Tones abdomen muscles.
{ 5 } Anjaneyasana (Lunge Pose)
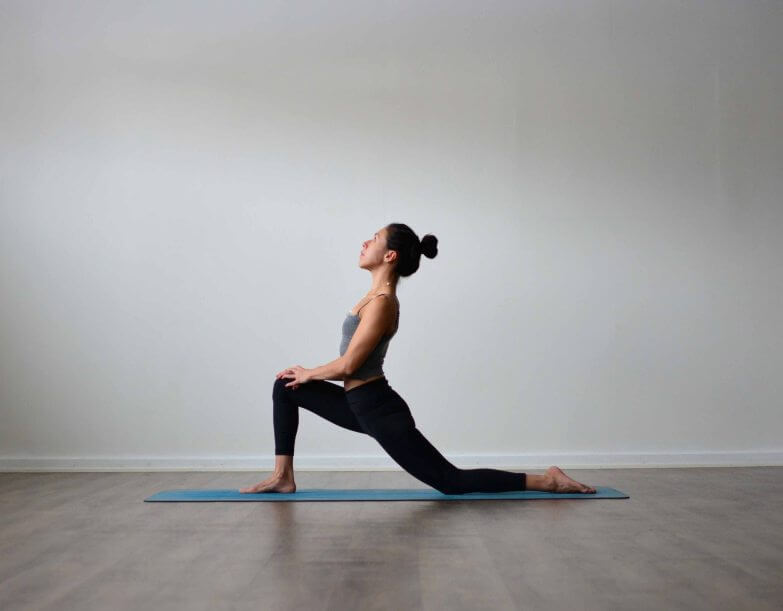
Practise:
- Early morning/empty stomach/6-8 hours after a meal.
- Get into “Adho Mukha Svanasana” posture.
- Place right foot in front adjacent to the right hand. Right knee and ankle should be in one line. Lower left knee onto floor/yoga mat.
- Lift torso, raise arms ensuring biceps touch ears and palms face each other.
- Allow hips move forward and stretch hip flexors. Stretch arms further and look behind. Raise knee of the back leg to complete crescent pose.
- Return to the Adho Mukha Svanasana.
- Repeat for left leg forward.
Benefits:
- Strengthens muscles, and hips.
- Expands shoulders, lungs, and chest.
- Improves concentration.
{ 6 } Sukhasana (Easy Pose)
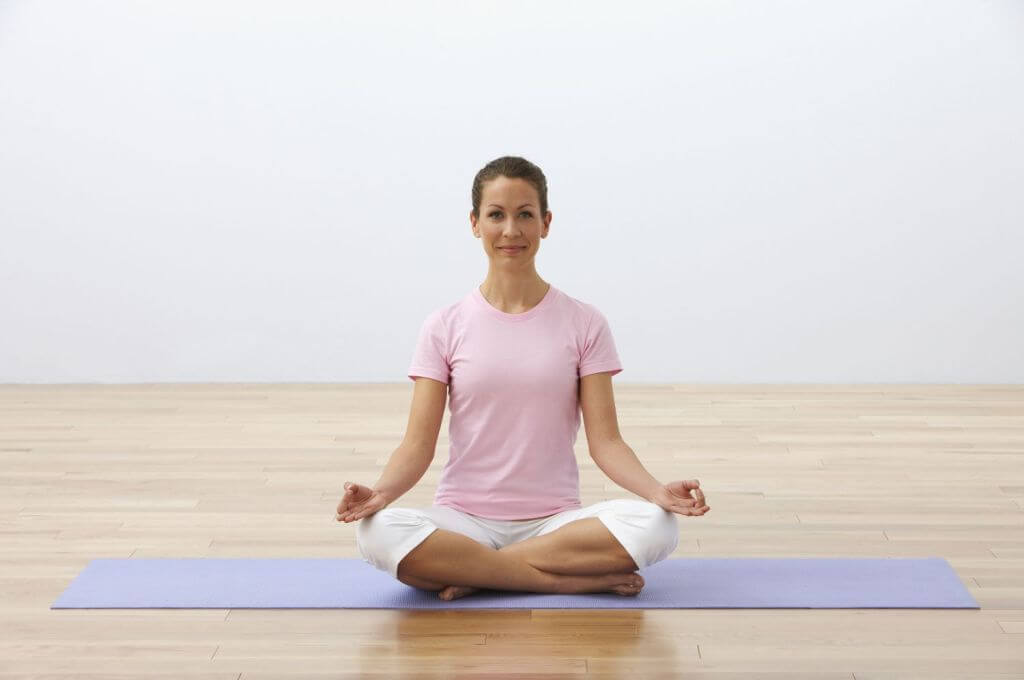
Practise:
- Sit upright with feet stretched in front.
- Cross legs bending knees and shins. Tuck in legs under the torso.
- Relax feet and outer edges on the floor. Meanwhile, the inner edges arch on shins.
- Observe triangle formed by crossed shins and thighs.
- Balance back, tailbone, and pubic bone.
- On knees, place palms in “Jnana Mudra” (tips of the thumb and index finger touch while other fingers are straight).
- Elongate tailbone. Tighten shoulders but, do not arch lower back.
- Practice this posture as long as comfortable.
- Repeat for other leg tucked in under the knee.
Benefits:
- Relaxes brain by removing anxiety, stress, and exhaustion.
- Strengthens and elongates back and spine.
- Stretches knees and ankles.
{ 7 } Padmasana (Lotus Pose)
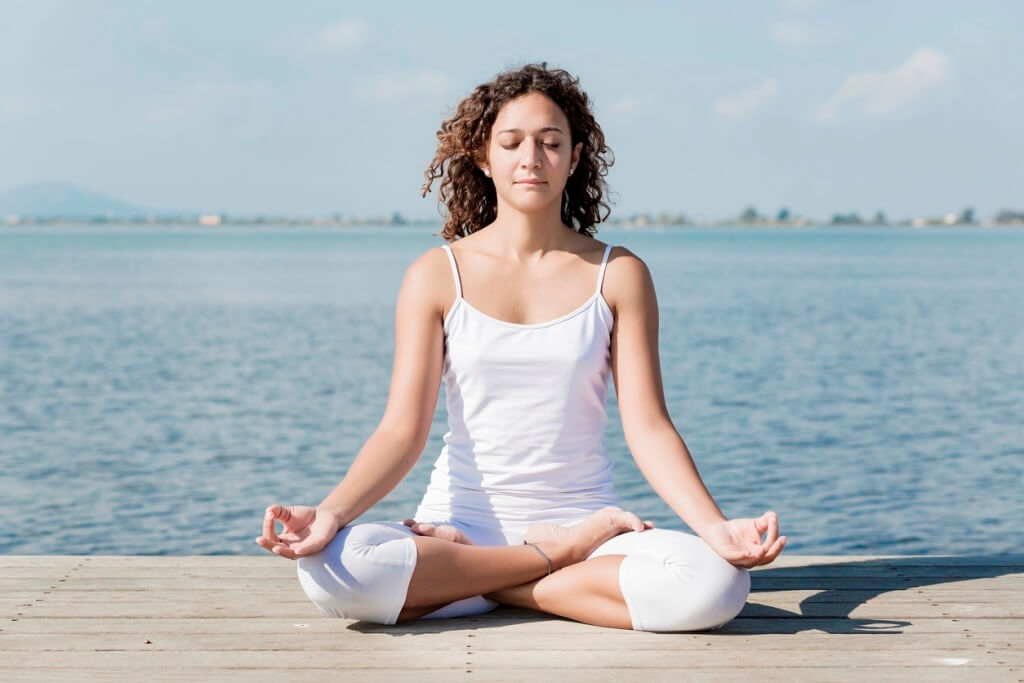
Practise:
- Bend knees into cross-legged position (right leg on top). Use both hands to hold right calf and rotate shinbone laterally. Draw right heel towards navel and place it onto the left hip.
- Repeat for left leg such that both knees point downwards to the floor.
- Stretch the spine from the center of the pelvis. Visualize space across the base of the skull. Focus on the line of the nose. Chin may be lifted or dropped.
- On knees, place palms in “Jnana Mudra”.
- Lift pubic bone.
- Feel energy rise through spine, heart, and base of the skull. Let negative energies to leave the body and mind.
- Count 10 breaths.
Benefits:
- Restores energy
- Stretches: ankles, knees, spine
- Stimulates: spine, pelvis, abdomen, and bladder
{ 8 } Paschimottanasana (Seated Forward Bend)
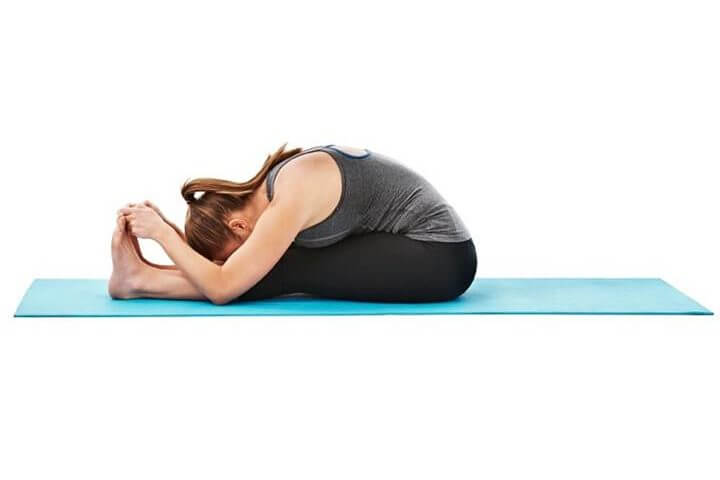
Practise:
- Sit up with legs in front and toes flexed.
- Inhale and raise arms upwards.
- Exhale and bend forward from the hip joint. Stretch arms.
- Inhale and left head to stretch the spine.
- Exhale and bring navel towards knees.
- Repeat a few times.
- Rest head on legs and count.
- Inhale and return to sitting position.
- Exhale and drop arms.
Benefits:
- Calms Nervous System.
- Stretches spine and backside.
- Burns visceral fat.
{ 9 } Adho Mukha Svanasana (Downward Facing Dog Pose)
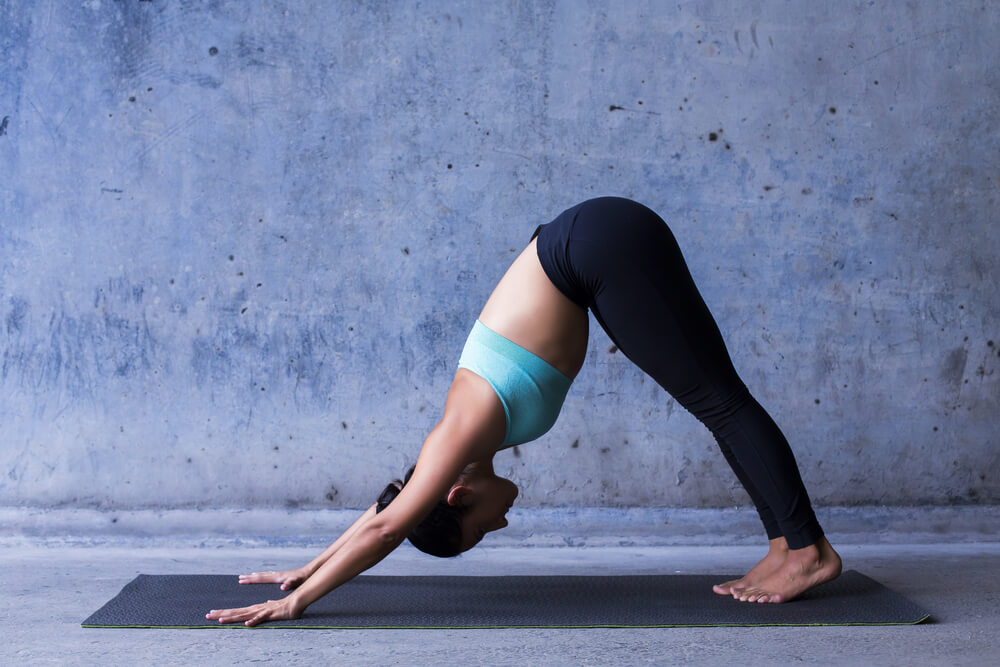
Practise:
- Stand on all four limbs including arms and legs.
- Lift hips and straighten elbows and knees. The body should look like inverted “V”.
- Place hands in line with shoulders, feet in line with hips ensuring toes point outwards.
- Press hands into the ground to lengthen the neck. The inner arms should touch the ears.
- Look towards the navel.
- Hold the posture for a few counts.
- Bend knees and return to original position.
Benefits:
- Strengthens abdomen muscles.
- Enhances circulation and digestion.
- Tones hands and feet.
{ 10 } Balasana (Child Pose)

Practise:
- Kneel and sit on heels such that big toes touch each other. Spread knees when ready.
- Inhale and bend forward.
- Exhale and ensure torso is between thighs.
- Stretch across pelvis narrowing the hips pointing towards the navel. Move towards inner thighs.
- Lift head slightly from the back of the neck.
- Stretch arms forward. Release fronts of shoulders to the floor.
- The pose is for resting. Can be maintained for 30 seconds to minutes.
- Breathe in. Lift from tailbone pushing against the pelvis.
- Release into the original pose.
Benefits:
- Removes tension back, chest, and shoulders.
- Reduces stress and anxiety.
- Stretches ankles, hips, spine, and thighs.
{ 11 } Bhujangasana (Cobra Pose)
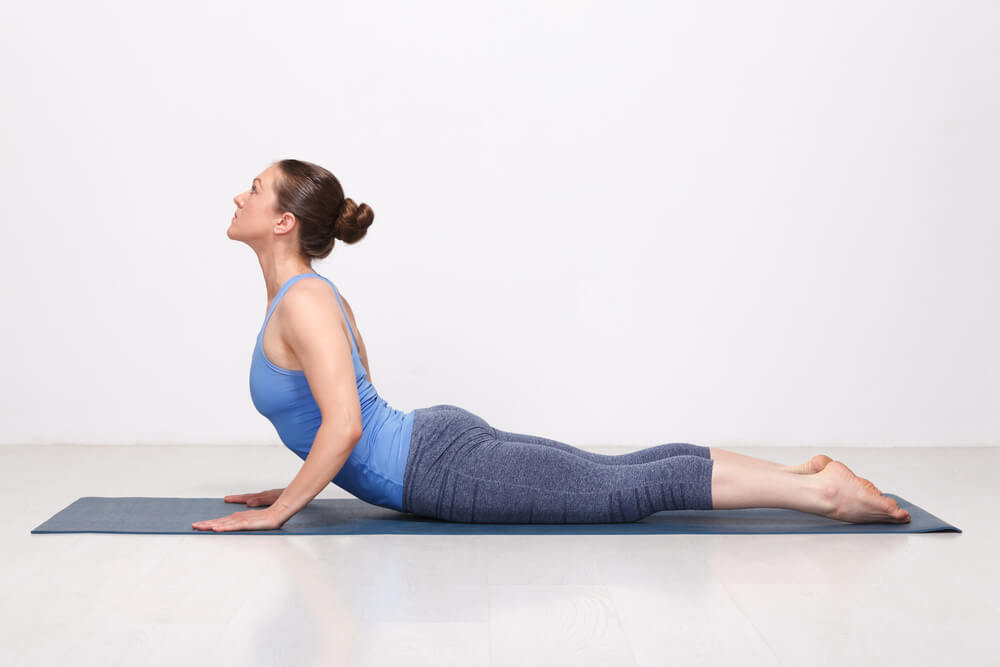
Practise:
- Lie on the abdomen. Place forehead on the floor.
- Feet together or hip-width apart. Top of the feet should press against the floor.
- Hands should be under shoulders. Elbows close to the body. Pull down shoulder blades. Pubic bone pulled towards the floor.
- Lift head and chest off the floor.
- Do not place all body weight on hands. Keep elbows bent. Back muscles should work.
- Take hands off from floor for a moment.
- Find a comfortable posture. Maintain height.
- Relax shoulders.
- Exhale.
- Lower body back to the ground.
Benefits:
- Stretches muscles in abdomen, chest, and shoulders.
- Enhances organs in abdomen and kidneys.
- Improves respiration, circulation, and digestion.
{ 12 } Shavasana (Corpse Pose )
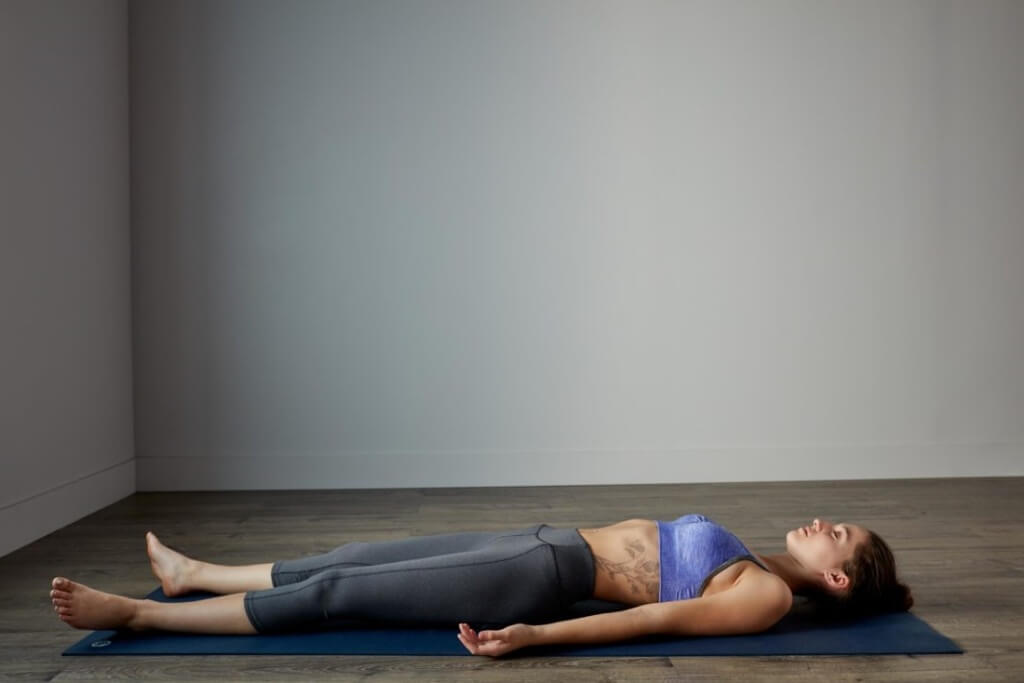
Practise:
- Lie flat on back resembling sleeping posture. Legs slightly apart.
- Both arms should be placed on either side with palms facing upwards. Relax.
- Close your eyes and breathe slowly and deeply through the nostrils.
- Can be practiced for 3-5 minutes.
Benefits:
- Removes depression, fatigue, tension, and stress.
- Improves concentration, mind and mental health.
- Cures asthma, constipation, diabetes, indigestion, and insomnia.